How to properly install the socket with your own hands
The correct technology by which the installation of the socket boxes is carried out is in most cases the same, with the exception of some nuances inherent in their installation in walls of different materials. If you do not take into account the need for experience in carrying out electrical work in general, the installation of socket boxes with your own hands can be done by anyone with minimal skills in owning a drill.
Content
Required tools and materials
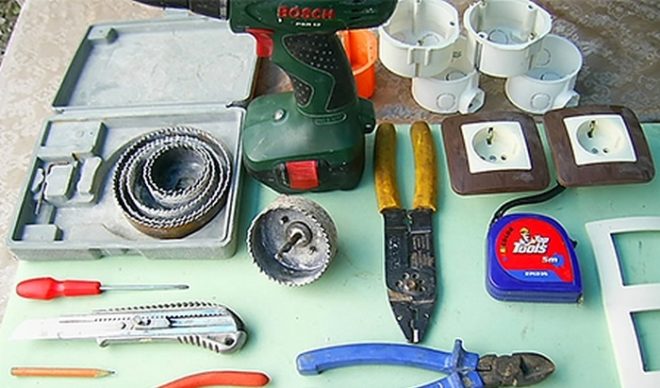
When large-scale wiring work is carried out, then all the necessary tools will most likely already be at hand, but if only the installation of socket boxes is on the agenda, then the following will be needed:
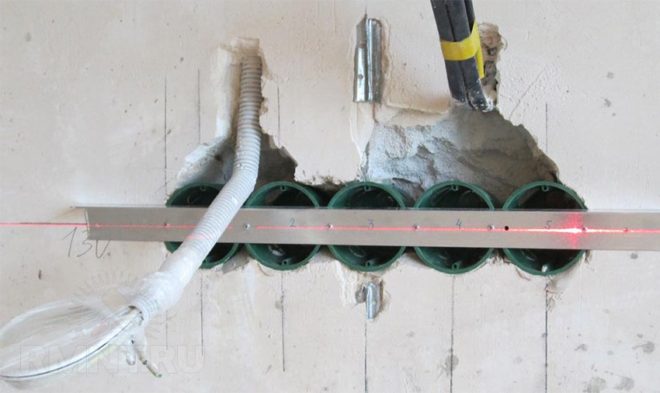
- Pencil and level - for marking the wall and aligning the block of wall boxes (if one needs to be installed).
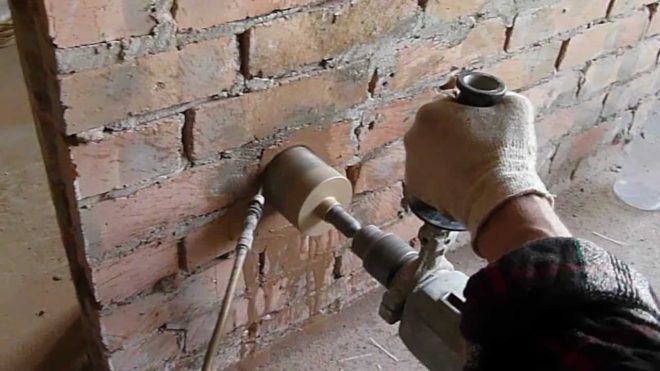
- Drill with crowns for drilling socket boxes. If there are no crowns, then just a drill for concrete (or for wood, in the rare case when hidden wiring is mounted in a wooden wall). A hammer drill or its mode on a drill may also come in handy.
- A spray gun (can be homemade) for watering the crown while drilling. Prevents the appearance of dust and prevents cracking of the tiles, if the socket is mounted on a kitchen apron.
- Alabaster, gypsum or cement mortar - to fix the wall box in the wall.
- A trowel or spatula with which the alabaster will be applied. Its size should allow the mixture to be laid inside the socket hole.
- The socket boxes of the required design are selected depending on the wall material.
- Dowels - are needed in rare cases if the wall material is soft and it is problematic to install wall plugs without additional fasteners.
A detailed overview of the tools required for mounting socket boxes in this video:
The rest does not apply to the work itself, but a broom, cleaning rags and, possibly, a vacuum cleaner will also come in handy.
Varieties of socket boxes
Before you make the necessary purchases to start installation, it will be useful to understand what kind of socket boxes are and how to choose them correctly.
There are three main types of them - for installation in concrete or brick, drywall or wood. Each of them meets certain safety rules and provides proper ease of installation.
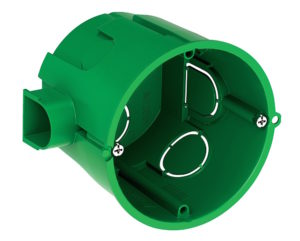
- Standard socket. This is a plastic cup with slots at the bottom through which the cable is wound. In addition, thanks to these slots, the glass is better fixed in plaster, alabaster or other solution.
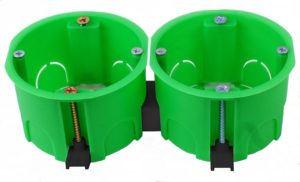
- For drywall. Completely based on the standard one, but in addition it has legs that are bolted from the bottom to the top and securely fix the socket in the wall.
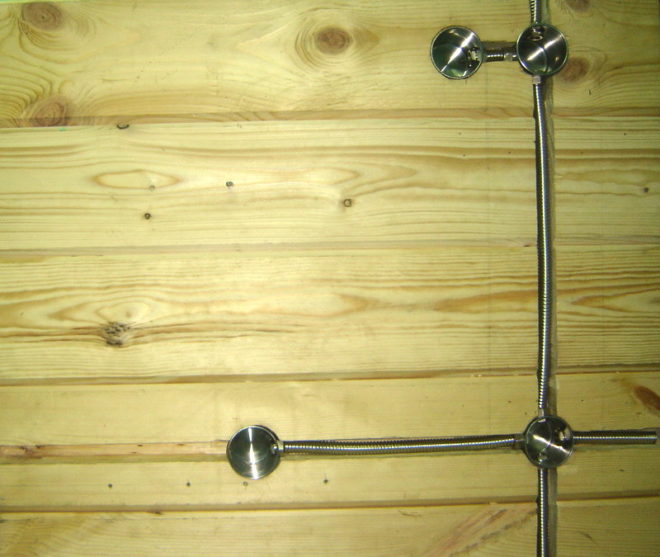
- For a tree. Here you need to pick up iron socket boxes - they are not sold so often, but you won't have to choose them for a long time - they are produced by not so many manufacturers.
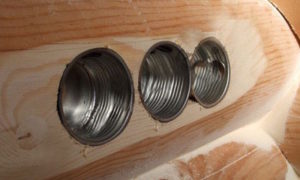
Installation in a concrete wall
It is most often necessary to install socket boxes in concrete or in a brick wall, so the technique of such installation has been worked out to the smallest detail and all possible methods have been tried for a long time:
- Installation of socket outlets in concrete begins with marking. If there is only one socket on the wall, then plus or minus a centimeter will not play a role, but when the block of outlets is installed, then how smoothly it will be subsequently exposed depends on the correct marking.
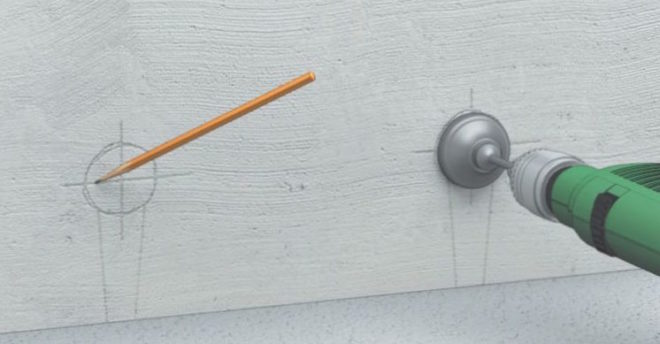
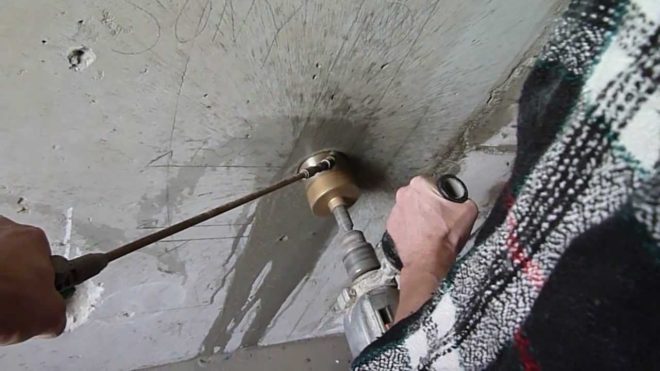
- Next, the holes for the socket boxes are drilled in the concrete - when the markings are done correctly and there is the right tool, then there should be no problems. Correctly executed installation of standard socket outlets in a concrete wall implies drilling a hole 5 millimeters larger than the installation socket itself. If there is no crown for drilling concrete, then you can use a conventional drill with a victorious tip - holes are drilled around the perimeter of the marked circle, and the inner part is knocked out. If there is no drill or perforator, but there is a grinder, then a rectangular hole can be made in the concrete for the socket boxes - all the same, they must be embedded in the wall with mortar.
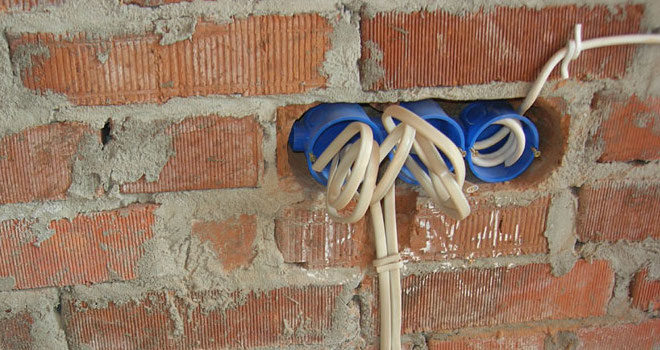
- Fitting a socket. It is necessary to install the flush-mounted socket in the concrete wall, and also check that the cable can freely enter it. Since putty will be applied further into the hole, it is better to wrap the end of the wire with electrical tape in advance, if this has not been done before.
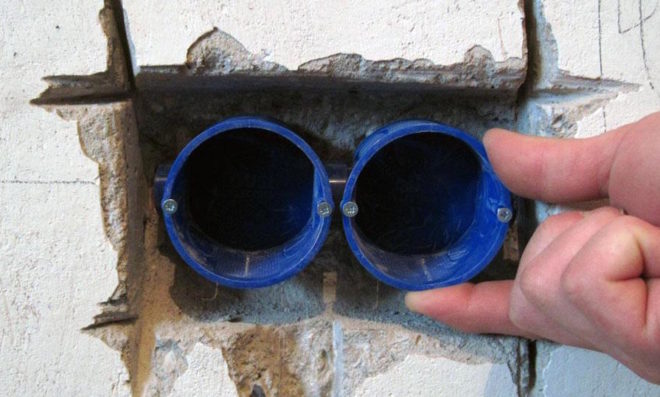
- A layer of putty is applied into the hole in such a way as to press in the socket and part of it crawled out. In this position, everything is left for a few minutes so that the solution begins to set and then carefully remove its unnecessary part from the wall.
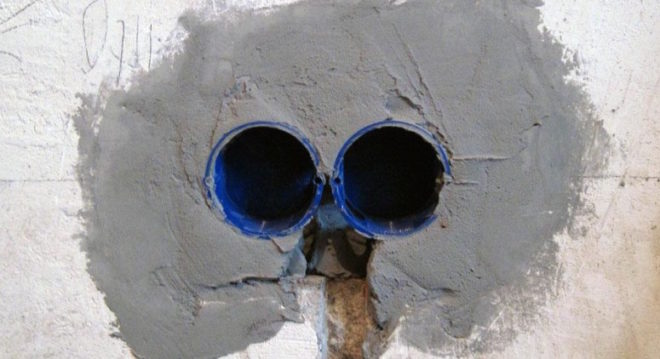
Now it remains to wait until the solution completely hardens, and this completes the installation of a standard socket into a concrete wall.
We also recommend watching these two videos with a story about the intricacies of installing socket boxes:
Brick wall, socket boxes, plaster and tiles
The sequence of actions when installing socket outlets in an ordinary brick wall is somewhat different from working on clean concrete. All techniques, tools and materials are used here the same, but there are some nuances, the implementation of which must be considered in advance.
The socket should be installed flush against the outside of the wall. If wallpaper is glued to the concrete, then a layer of plaster will be laid on the brick wall. Of course, you can estimate in advance what the thickness of the plaster will be and take the socket out a little forward, but the hassle will be an order of magnitude more than with a simple installation. When sockets are planned in the bathroom or in the kitchen, where tiles will be additionally laid, then the calculations are even more complicated.
A long and difficult way to solve the problem lies in careful measurements after each stage of work - a place is marked, wiring is connected to it, plaster is applied, a hole is cut in it, then the same is done with the tiles during its laying.
It will be much easier to make the initial recess in the wall, where you can hide the wire (it is advisable to twist it tightly and fix it in the center). Then close the hole with a lid - you can even cut it out of thick cardboard, remember the "coordinates" of the future socket and now you can putty. If the tile will be laid and it is necessary to maintain symmetry, then it will be useful to estimate in advance what pattern it will fit in this place.
This video shows how to install the flush plates on gypsum plaster:
When the plaster or tile adhesive hardens, the installation of the socket itself begins - one or for a block of outlets. At the desired coordinates, carefully so as not to snag the wire, a hole is drilled (if it is a tile, then at the time of drilling it is necessary to continuously water the crown or drill).Next, the standard installation of the selected socket boxes is carried out - putty is applied, the box itself is recessed, the excess solution is cleaned off and after it has solidified everything is ready for the installation of the outlet.
Installation in a plasterboard wall
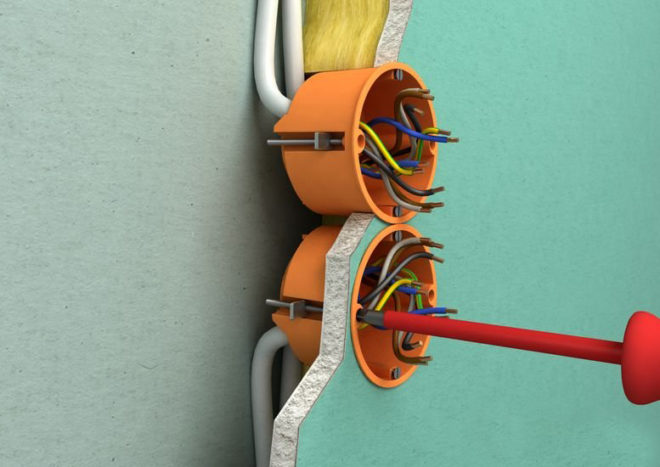
This is a modern material, in the work with which the appropriate tools and components are used. There will be no need for a punch and mortar - the whole process is many times faster, but for installation in drywall you need a special socket box - with additional legs that will press it against the drywall sheet.
Although a hammer drill is not useful here, you definitely need a drill - with a crown for drilling the socket boxes or a regular drill. The place of drilling is marked and a hole is cut out, and its diameter should coincide with the dimensions of the socket. The wire is brought out and threaded into the socket box.
Then the socket is simply inserted into the hole and the bolts from the adjusting legs are tightened on it - they open from the inside and are pulled to the drywall sheet, tightly pulling the socket to it.
For more information on mounting the socket outlets in drywall, see this video:
Hidden wiring in a wooden house
This is a very expensive pleasure. Although a puncher is not needed here, the labor costs are many times higher, because according to the requirements of the PUE, the entire installed wire should not come into contact with a tree anywhere and under any circumstances.
The usual types of socket outlets are not suitable here - PVC burns perfectly and in the event of a short circuit the probability of fire when using them is very high. There is no question here which socket will be better or worse - you can put only iron ones, the thickness of the walls of which will be able to keep the resulting arc from a short circuit inside the case.
For the same reason, the wires in such wiring must be laid in an iron pipe and all its joints with the socket must be carefully sealed. The entire line is necessarily grounded, therefore, a fastening bolt for the ground wire is additionally welded to the ends of the pipes that converge in the socket box.
Based on this, there is only one way to install a socket box without turning it into a time bomb - to fulfill all the requirements of the PUE:
- For the socket, the required hole is drilled with a drill and a chisel
- If you want to make additional protection, the bottom of the hole is laid with asbestos.
- A wire and a part of its supply pipe are inserted into the socket box, which is connected to the body, which in turn is screwed to the wall with screws.
This seemingly uncomplicated sequence of actions should be performed with all possible care, because the fire safety of the house depends on it.
This video shows the installation of socket outlets in a log wall:
The nuances of choice
In general, when choosing a socket, it is necessary that the person picking them up knows where they will be used - if you have purchased your own socket for the necessary material, then the question of how to fix this device should not arise.
Another thing is their elementary check, it is especially necessary to check those that will be fixed in drywall, since there are moving parts there. Even those of them that will be planted in the solution must be intact and without cracks. Separately, it is worth checking the bolts with which the base of the socket will be screwed to the body, and also try on so that the socket is normally fixed inside. In general, the ideal option is to buy a set of outlets and socket outlets.

