Pass-through two-button switch - device and connection diagram
A person tries to make everything in his life as comfortable as possible, this also applies to electrical wiring in the house. During repairs, we select beautiful lamps, switches to match the overall interior, socket blocks, install sockets with child-proof curtains and illuminated switches so that it is convenient to find them in a dark room. But so far not many have had to deal with such a concept as a two-key switch. This device really makes our communication with electricity more convenient because it allows the control of the same luminaires from several different places.
Such a device deserves a separate detailed discussion, so let's figure out what it is for, where it is installed, what types it has and how to connect a two-key pass-through switch to the electrical household network.
Application area
A two-key pass-through switch is installed in rooms that are large in area or length, where it will be more convenient to control the lighting from two places. Let's take a look at some examples.
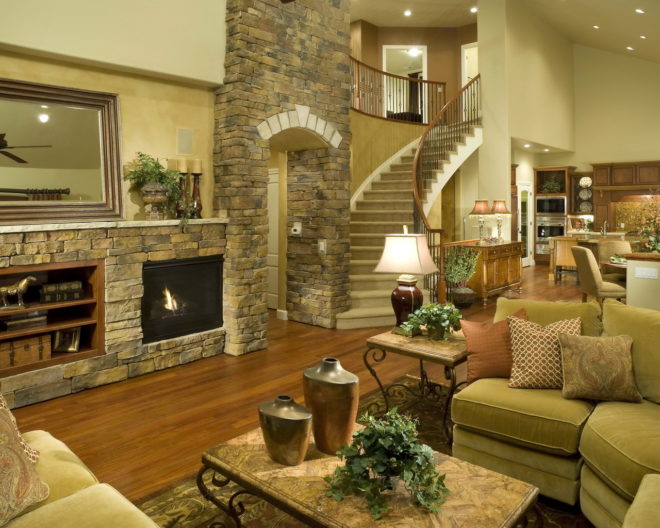
Let's say you have a huge living room with a large chandelier and spotlights mounted around the perimeter of the room. The switch, as it should be, is at the entrance to the room - we entered, pressed the required button, the chandelier or group lamps lit up. After going to the other end of the living room, where, for example, there is a staircase to the second floor, it would be very comfortable to turn off the light without going back to the beginning of the room. That's what this two-rocker switch is for. One passage device is located at the entrance, which you turn on when you enter the room, the second is mounted at the exit from the living room to turn off the lighting from this place.
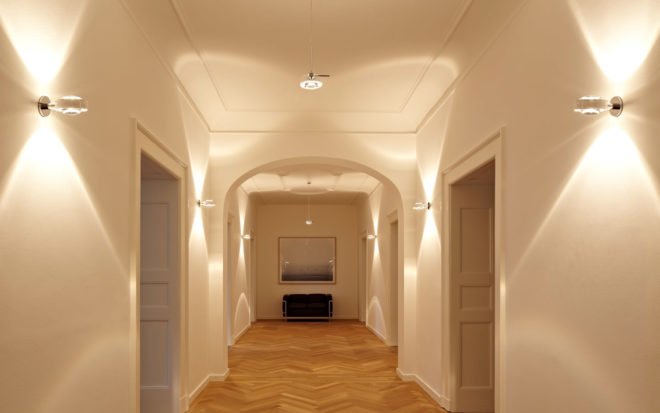
In the same way, the connection diagram of the pass-through switch with 2 places for long corridors is applied. It is often used in private mini-hotels and hotels, guest houses in resorts, when there are several rooms in a long room, or in offices with a large number of offices. In such long corridors, it is good to mount two groups of lamps, each of which is turned on with a separate key. At the entrance to a long corridor, the first pass-through switch is installed, and at the very end of the second, after passing through the entire room, you will not need to return to disconnect.
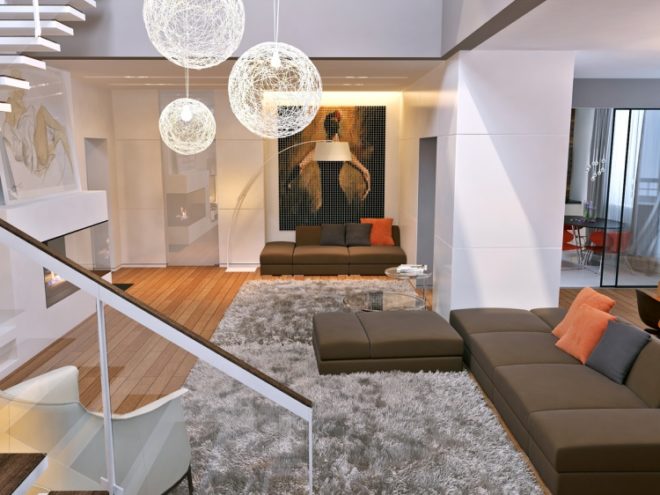
It turns out to be very convenient to install a double pass-through switch in two-story housing construction. Switching devices are installed on the first and second floors (at the beginning and at the end of the flight of stairs). Here, too, there can be two groups of lighting elements - chandeliers with brighter lighting and spotlights with dimmed light, which will be enough to walk up the stairs without stumbling. Each key turns on the illumination of a certain group of lamps. Management takes place from the floor on which the person is currently located.
Also, such a switch can be installed in the country or in a country house where there are long garden paths. For example, at the beginning of the plot there is a house, and at the end of the gazebo, between them is a path with lamps. In the dark, you need to go to the gazebo, turn on the pass-through switch located somewhere on the wall of the house, walk along the lighted garden path, and then turn off the lighting from the gazebo. While you are in the gazebo, the light bulbs do not burn in vain and do not wind up excess electricity.In the same way, then you return, first you turned on the lighting of the paths in the gazebo, and then turned it off with a switch on the house. The lighting of the paths can be made brighter with pendant lights and dimmed, with spotlights mounted along the paths, each type is turned on with a separate key.
Device and varieties
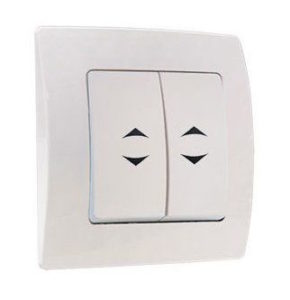
How to correctly define a pass-through switch? In fact, these are two switching devices that control one lighting fixture (or group).
If you look at a two-key household switch, outwardly it is absolutely no different from an ordinary apparatus. It also consists of a working part (contact group) and a protective case (frame and keys). And its main functions are the same - to break or close an electrical circuit.
But it will never be possible to make a pass-through from a conventional switch, the second has a more complex connection diagram. An ordinary two-button switch has three contacts - one incoming (it receives a phase from the supply network) and two outgoing (phase wires of the lamps must be connected to them). The straight-through model has six contacts.
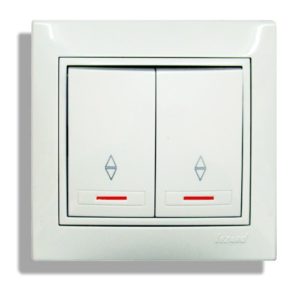
If you press the key of an ordinary apparatus, then a closed circuit is created between the voltage source and the lamp, as a result of which lighting appears. The pass-through version has an internal movable contact (changeover), when the key is pressed, it simultaneously opens one circuit, and closes the second, that is, it is thrown from one terminal to another. In this case, the second circuit is the contacts of the paired switch, because the pass-through switching device does not work as an independent device.
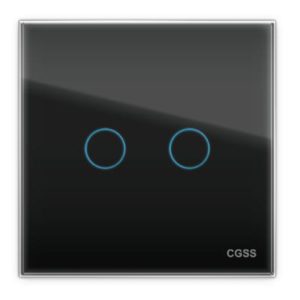
When choosing a model of a pass-through switch, note that in addition to key models, there are also touch-sensitive ones. They are more expensive, so focus on your financial capabilities here.
Backlit models are considered to be very convenient to use; you won't have to look for such a device for a long time in a dark room. Each key has a luminous window indicating the location of the switch.
Connection diagram
First, a few basic principles so that you understand the very essence of the walk-through switch.
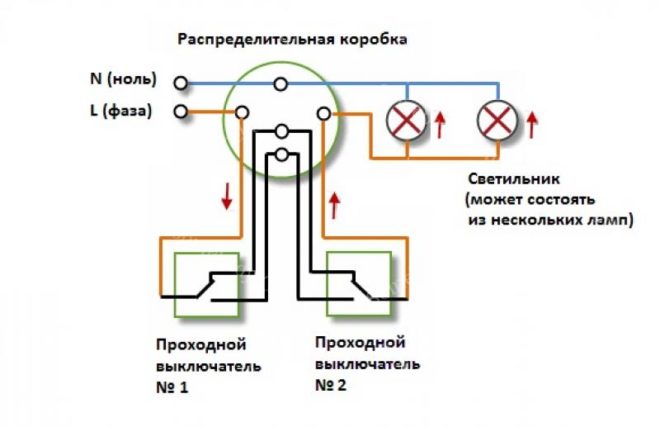
- A wire of three cores comes from each pass-through device into the junction box.
- From the first pass-through switch, one core is connected to a phase of the supply network.
- One core of the second switch is connected to the phase wire of the lighting fixture.
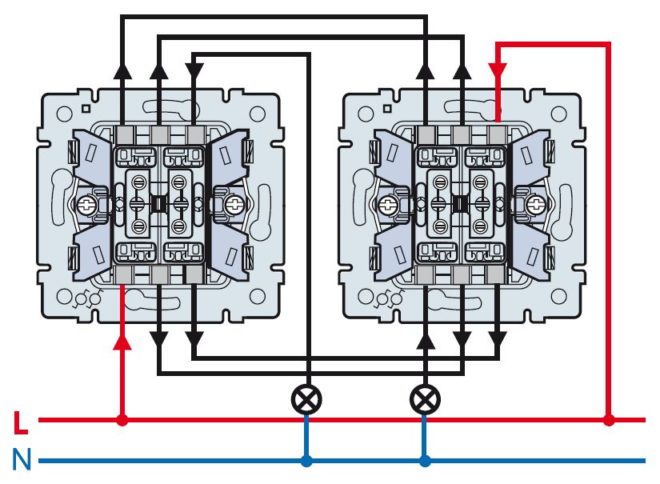
- Both switching devices are electrically connected to each other in the junction box by pairing the two remaining cores.
And now we will take a closer look at connecting a two-key pass-through switch to the electrical network.
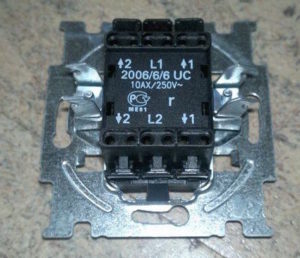 Take a two-key pass-through switch in your hands and carefully examine its back side. The wires are connected to six terminals (that is, three for each key).
The terminals are all marked. Those marked "1" with an arrow drawn next to it are connected to the same terminals of the second pass-through switch. In the same way, it is necessary to connect the terminals with the number "2" and the arrow drawn next to each other with wires. In this case, it is convenient to use a four-core wire.
The first switch has two more terminals "L1" and "L2", to which the phase wire is connected from the supply network. In the second switch, the terminals marked "L1" and "L2" are connected respectively to two lighting fixtures. Such connections are made with a two-core wire.
For a detailed analysis of the connection diagram, see this video:
Installation features
Select locations for the pass-through switches. Considering the essence of the switching device itself, it is quite logical that one will be at the beginning of the room, the second at the end. It doesn't matter from which side you enter this room, in any case - you turn on the light with one switch, turn it off with the other, they both work in two directions of the lighting groups.
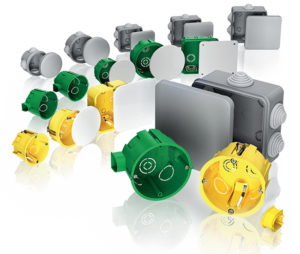 To connect a two-key switch through, you will need special mounting boxes, which are recessed into a wall hole (they are also called socket boxes).
Since all connections (and there are not so few of them) will be made in a junction box, it will be difficult to do this in a standard standard (60 mm diameter), there simply will not be enough space to make the necessary switching and neatly lay it inside. Before connecting a double pass-through device, try to purchase a box of a larger diameter or a twin of two or three.
- De-energize the room in which you will perform work.
- Using an electric drill with a special crown, make the necessary holes in the wall for the junction box (usually done under the ceiling) and socket boxes (it is customary to install them at the level of a lowered human hand).
- To lay wires using a grinder, make grooves from the junction box to the installation sites of switches and lamps.
- Lay the wires in the grooves and fix them with alabaster. Remember to leave the long ends for cutting and connecting.
- Bring the power supply wire into the junction box, it will have two cores - phase and zero.
- Make all necessary wire connections according to the above connection diagram. Twisting is the most common joining method among electricians. The ends of the wires must be stripped of insulation: in the junction box, for the reliability of twisting, the ends are stripped by 3-4 cm, in switches and lamp holders 0.8-1 cm is enough.
- Insulate all joints firmly with a special tape, on top, for reliability, also put on PVC pipes.
- Install luminaires (in lighting groups, lighting elements are usually connected in parallel, because with a serial connection, if one lamp fails, the whole chain will not work for you).
- Fasten the switches to the socket boxes, install frames and keys.
- Apply voltage to the room and test the operation of the pass-through switches. Turn on the first device, the lamps should light up, walk to the end of the room, turn off the second switch, the lamps should go out.
The following video shows how to connect in practice:
And another example is here:
If you really understand, the connection diagram of a two-key pass-through switch is not so complicated. What you need is basic knowledge of electrical engineering, an electrician's working set of tools and maximum care.

