How to check a light bulb with a multimeter

Electric lamps are an integral part of a modern home. Both conventional and LED light bulbs can fail, and it so happens that no damage is visible to the naked eye - for example, the tungsten filament is intact, but the light still does not light up. Checking it in another luminaire may not give results due to the non-standard size of the threaded part, in which case an indicator screwdriver or, for a more accurate test, a tester will be needed to check. This device also allows you to check the power of LED lamps. How to check a lamp with a multimeter will be discussed in this article.

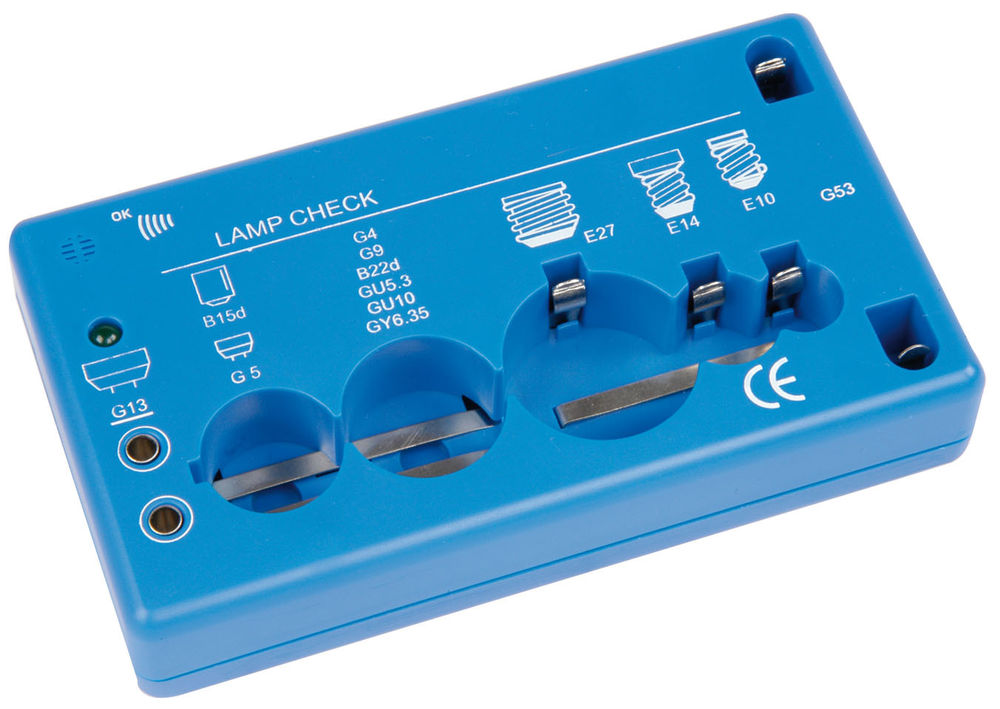
When buying a light bulb, for sure everyone saw that the seller, before giving it to the buyer, checks the product with a tester to check its serviceability. The device has connectors for diagnostics of various types of light bulbs. Checking the product with a multimeter allows you to find out if the integrity of the in-lamp conductors is broken or not. If it is in good condition, a beep will sound.
The procedure for checking electric lamps with a multimeter

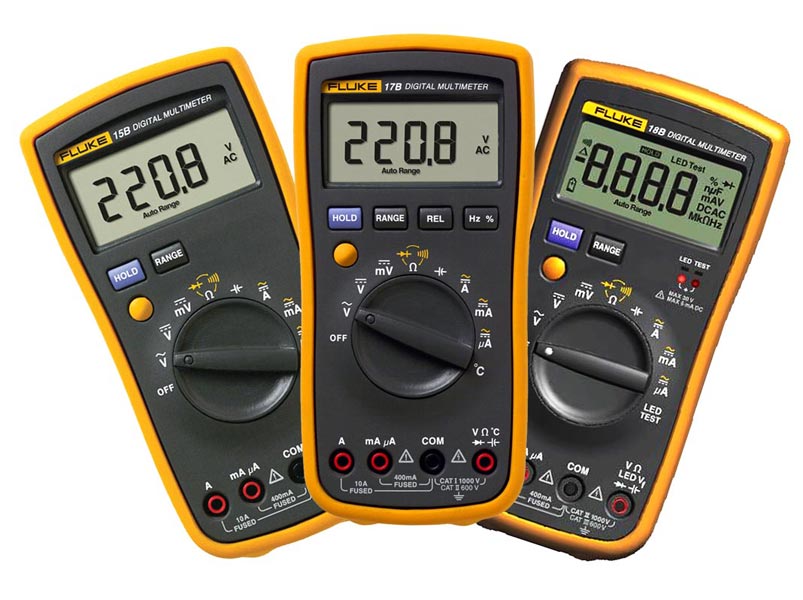
The modern market offers two types of electrical testers: pointer and electronic. The former are somewhat cheaper, but their digital counterparts surpass them in all other parameters - convenience, reliability and measurement accuracy. The small size of the electronic multimeter allows you to carry it in your pocket. Such a device is not afraid of shocks, it will not harm it and a fall from an insignificant height, which can disable the analogue switch. Any licensed tester has electronic protection, which will save it from damage if the test mode is selected incorrectly.
Ringing

When switched on in the dial mode, the device allows you to establish whether the electrical connection is not broken. There is a special symbol on the dashboard that denotes this mode.
To check the performance of the light bulb, you should:
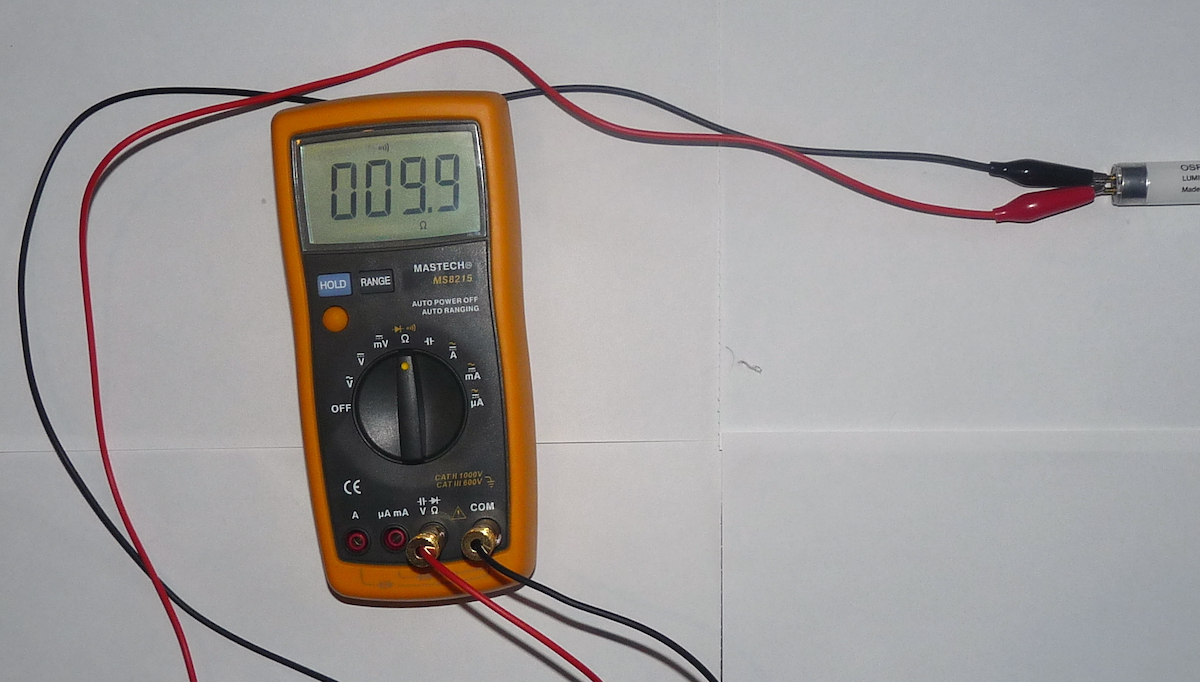
- Switch the multimeter to dialing mode.
- Apply one of the probes to the central contact, and then with the second touch the side contact.
This test is suitable for light bulbs equipped with a threaded base. If the product is in good working order, a signal will be heard, and a figure from 3 to 200 ohms will be displayed on the tester's LCD display.
Each time, before starting measurements, you must make sure that the integrity of the measuring circuit of the multimeter is not broken. To do this, attach one probe to the other for 1-2 seconds.
How to dial a light bulb, see this video:
This method is not suitable for LED products, as well as CFLs that contain an electronic circuit. The tester can only be used to check the condition of the glass spiral of a compact fluorescent lamp. To this end, the spiral should be separated from the base and ring the lead wires that are connected to the electronic ballast board.
Resistance measurement

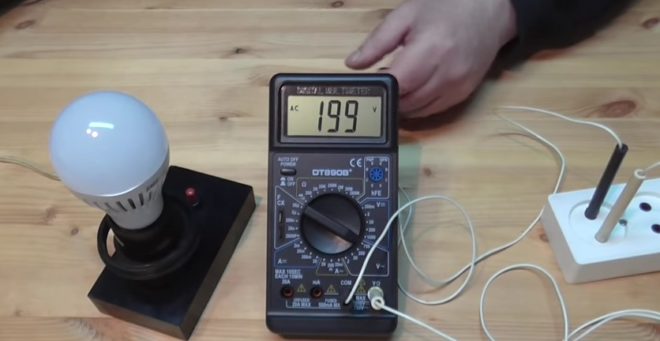
The multimeter allows you to check not only the health of the light bulb, but also to determine the value of its resistance. This may be necessary if the factory marking on the bulb of the product has been erased and it is impossible to read what the power of the light bulb is. You can find out with the help of a tester.
When checking the light bulb in resistance measurement mode, proceed as follows:
- Turn the Meter switch to a position where the limit is 200 ohms.
- Touch the tester probes to the product contacts, as if dialing.
The display will show the resistance indicator, but there should be no sound signal. The number "1" on the LCD indicates that there is an open circuit inside the light bulb.
Another way to determine lamp power using a multimeter is shown in this video:
After reading this material, you learned how to properly check the lamp with a multimeter. It remains to add that the electrical tester is useful not only for solving this problem. In the household, this is not at all a superfluous thing, and if you do not have such a device yet, we advise you to definitely purchase it.


